前言
在写后台代码的过程中,经常会遇到要写一些单独的服务。以前呢,直接用的是 .NET 下的 “Windows 服务” 控件开发的。
这个传统的控件开发起来很不方面,使用也不友好。发现有用 Topshelf 的,这个第三方的框架,集成的很好,用起来也方便。
这里就说下我的使用过程。
使用
1、添加引用
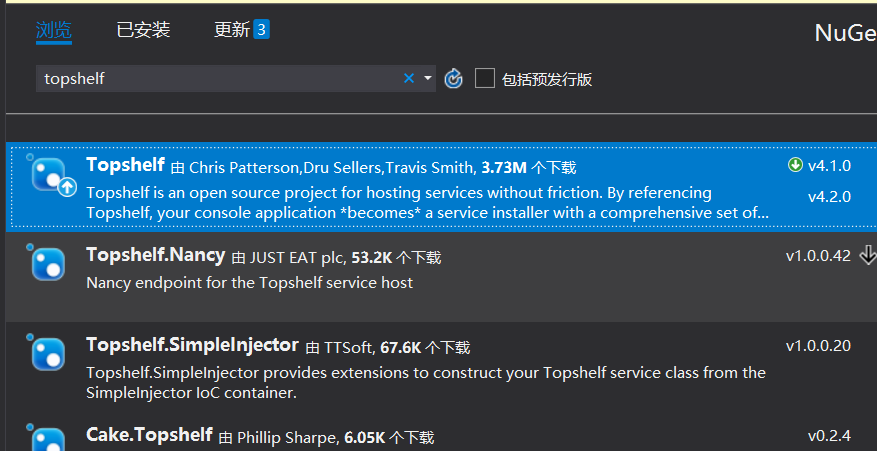
在需要使用Topshelf的项目右键“引用”=》“管理NuGet程序包”
搜索“Topshelf”就可以,安装最新版。

2、代码中使用
这里直接上代码。
class Program { static void Main(string[] args) { Host host = HostFactory.New(x => { // 基本的配置 x.RunAsLocalSystem(); x.SetServiceName("Service"); x.SetDisplayName("Service"); x.SetDescription("服务"); x.StartAutomatically(); x.EnableShutdown(); // 注册服务 x.Service (hostSettings => new Service()); // 设置服务失败后的操作,分别对应第一次、第二次、后续 x.EnableServiceRecovery(t => { t.RestartService(0); t.RestartService(0); t.RestartService(0); t.OnCrashOnly(); }); }); host.Run(); } } 这里要继承 Topshelf的“ServiceControl”,来开始服务和结束服务。
public class Service : ServiceControl { public bool Start(HostControl hostControl) { // 开始具体的业务逻辑 return true; } public bool Stop(HostControl hostControl) { // 结束 return true; } } 3、部署服务
部署、开始、卸载服务只需要一句命令行就可以:
安装:Service.exe install 启动:Service.exe start 卸载:Service.exe uninstall
这些命令是在当前文件夹下打开 CMD 执行的命令。如果不是当前文件夹,需要带上绝对路径。